
How to Start Fly Tying: Tools, Materials, and First Patterns
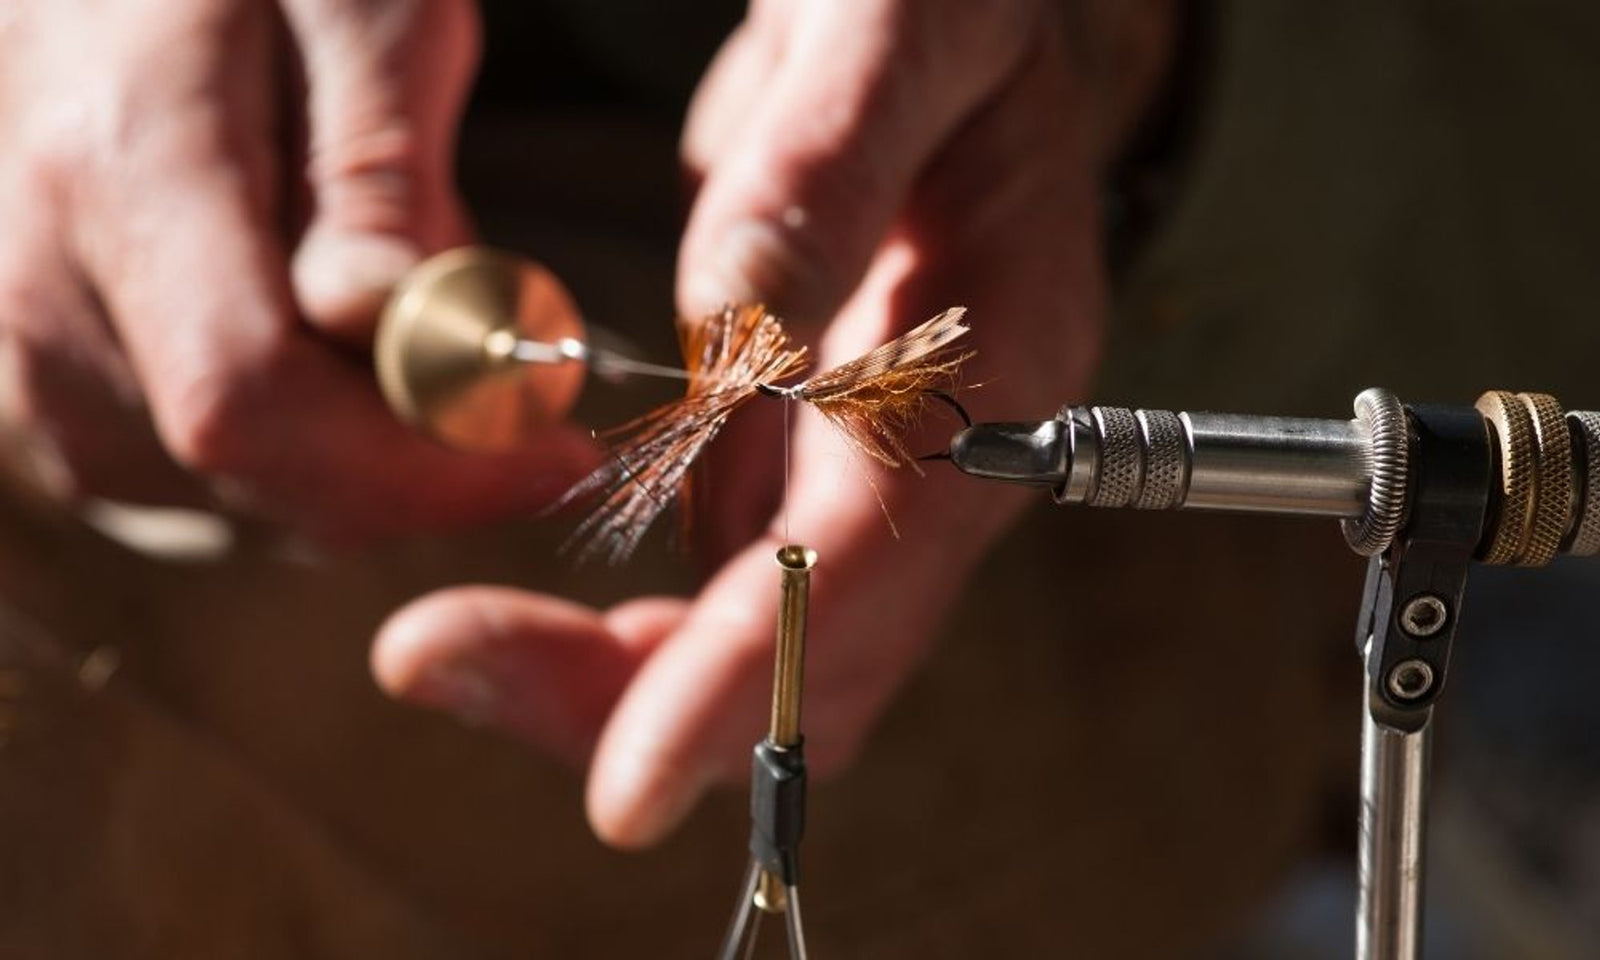
Fly tying pays you back twice: cheaper flies eventually, and a deeper understanding of what trout eat immediately. Here's the honest starter list — what you need, what can wait, and what to tie first for our local water.
The tools that matter
A solid vise that holds a hook without slipping (you don't need a $400 rotary to start), good scissors with fine tips, a bobbin with a ceramic tube, hackle pliers, a whip finisher, and a bodkin. That's the kit. Skip the 40-piece tool sets — half of it never leaves the pouch. We stock proven starter setups in our fly tying collection and can put a kit together in the shop that skips the filler.
Buy materials per pattern, not per impulse
The classic beginner mistake is a bag full of random feathers. Instead, pick one pattern, buy exactly what it needs, and tie a dozen. Materials for five or six patterns will still fit in a shoebox and cover a season here.
Five first patterns for Gunnison country
Zebra Midge (sizes 18–20) — trout eat midges here twelve months a year. San Juan Worm — two materials, five minutes, always works after a bump in flows. Pheasant Tail — matches every small mayfly nymph in the river. Elk Hair Caddis (14–16) — the summer evening staple on the Uncompahgre. Woolly Bugger — your first streamer teaches thread control, weight, and hackle in one fly. Tie those five well and you can fish the Gunnison all year — check the current fishing report to see which one to fish this week.
Learn with other people
YouTube is great, but nothing beats tying across the table from someone who can spot your thread tension mistake in ten seconds. Ask at the counter about tying nights and lessons — it's a winter tradition around here, and beginners are always welcome.